Building Your Hacking Playground: Proxmox Unveiled and Windows Symphony
6 min read
January 13, 2023


Introduction
Welcome to the kickoff of our series, where I’ll guide you through the art of setting up a dynamic hacking practice environment. This first post is all about laying the groundwork for a potent Windows hacking practice arena using Proxmox. Excitingly, in the chapters to come, we’ll unravel advanced configurations, network optimizations, and ventures into realms like pivoting and web hacking.
Unveiling Proxmox
Proxmox, our secret weapon, stands for a type-1 hypervisor—a sophisticated software allowing multiple Virtual Machines (VMs) to gracefully share the stage on a single computer, utilizing its resources with finesse. Think of it as a maestro orchestrating a symphony of VMs. Unlike its counterparts, such as VirtualBox or VMWare Workstation, Proxmox operates on a higher plane, making it the virtuoso of hypervisors.
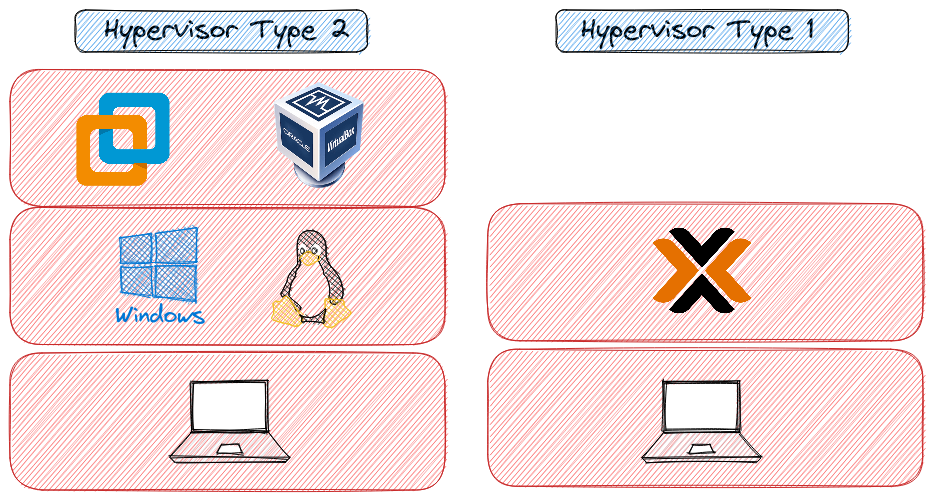
Difference between hypervisor type 1 and type 2
Embarking on level 1 lab setup
For our maiden voyage into the hacking cosmos, I’ve chosen my humble home network. Through the magic of Dynamic Host Configuration Protocol (DHCP), our router will bestow IPs upon the virtual machines residing on the Proxmox stage—an old yet robust laptop boasting 16 GB of RAM and a 1-terabyte SSD. The more brawn your device flexes, the grander the virtual ensemble you can orchestrate. For our inaugural symphony of hacking techniques, you’ll need a machine capable of harmonizing two Windows virtuosos, one Domain Controller maestro, and a Linux soloist—the attacker.
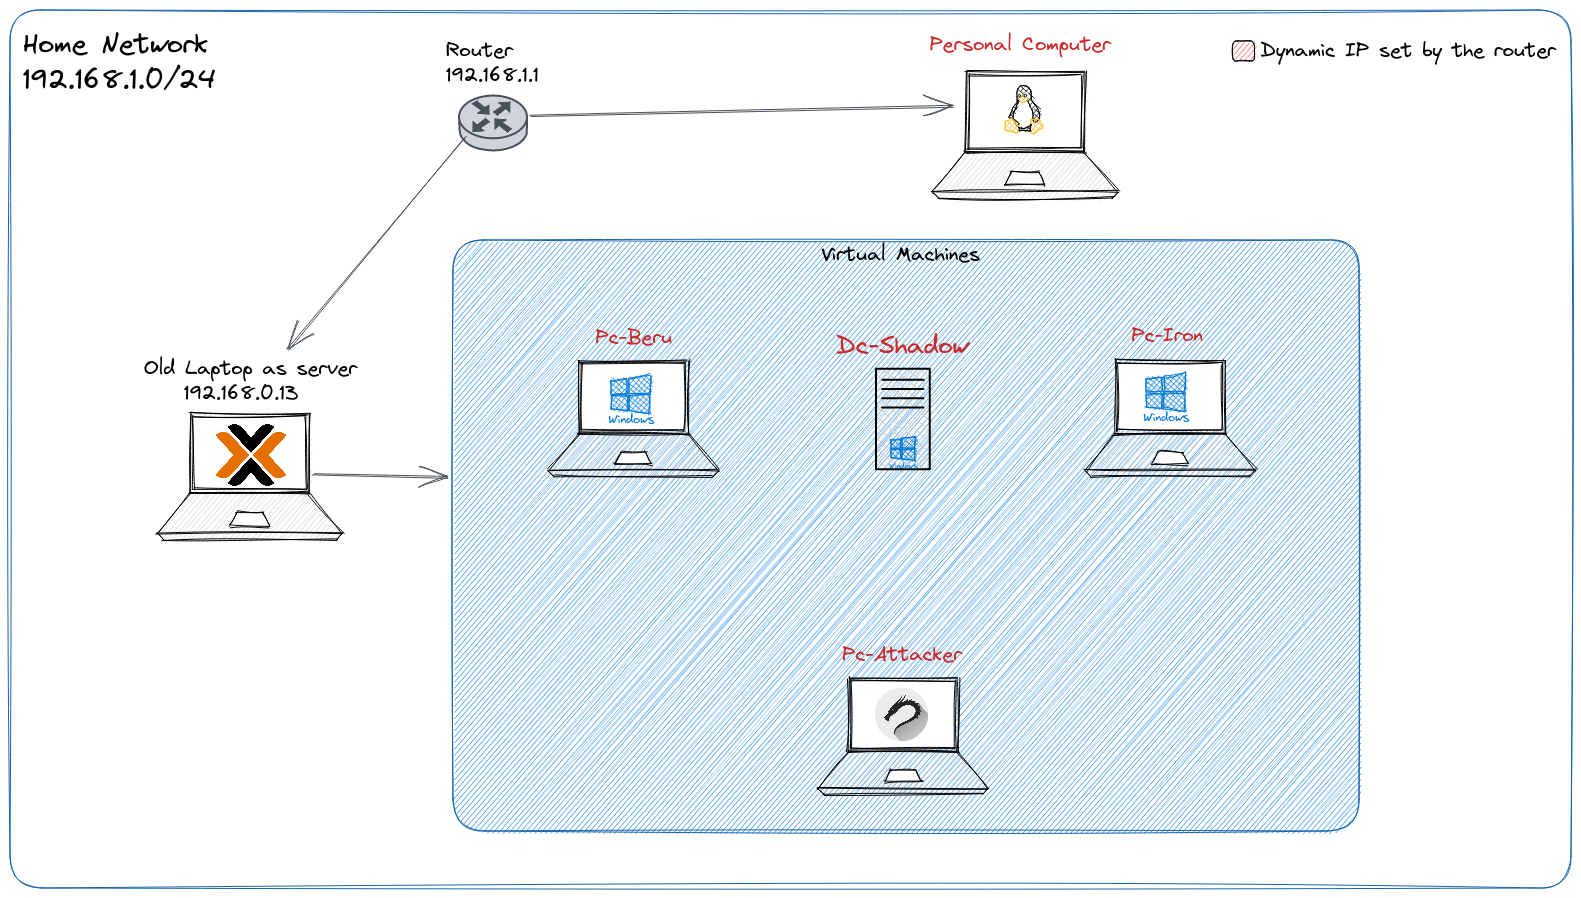
Lab that I am going to set up
Setting the Proxmox Stage
To achieve this symphonic feat, follow the steps in NetworkChuck’s video for a graceful Proxmox installation and setup. Once the curtains rise, access the Proxmox control panel via the web.
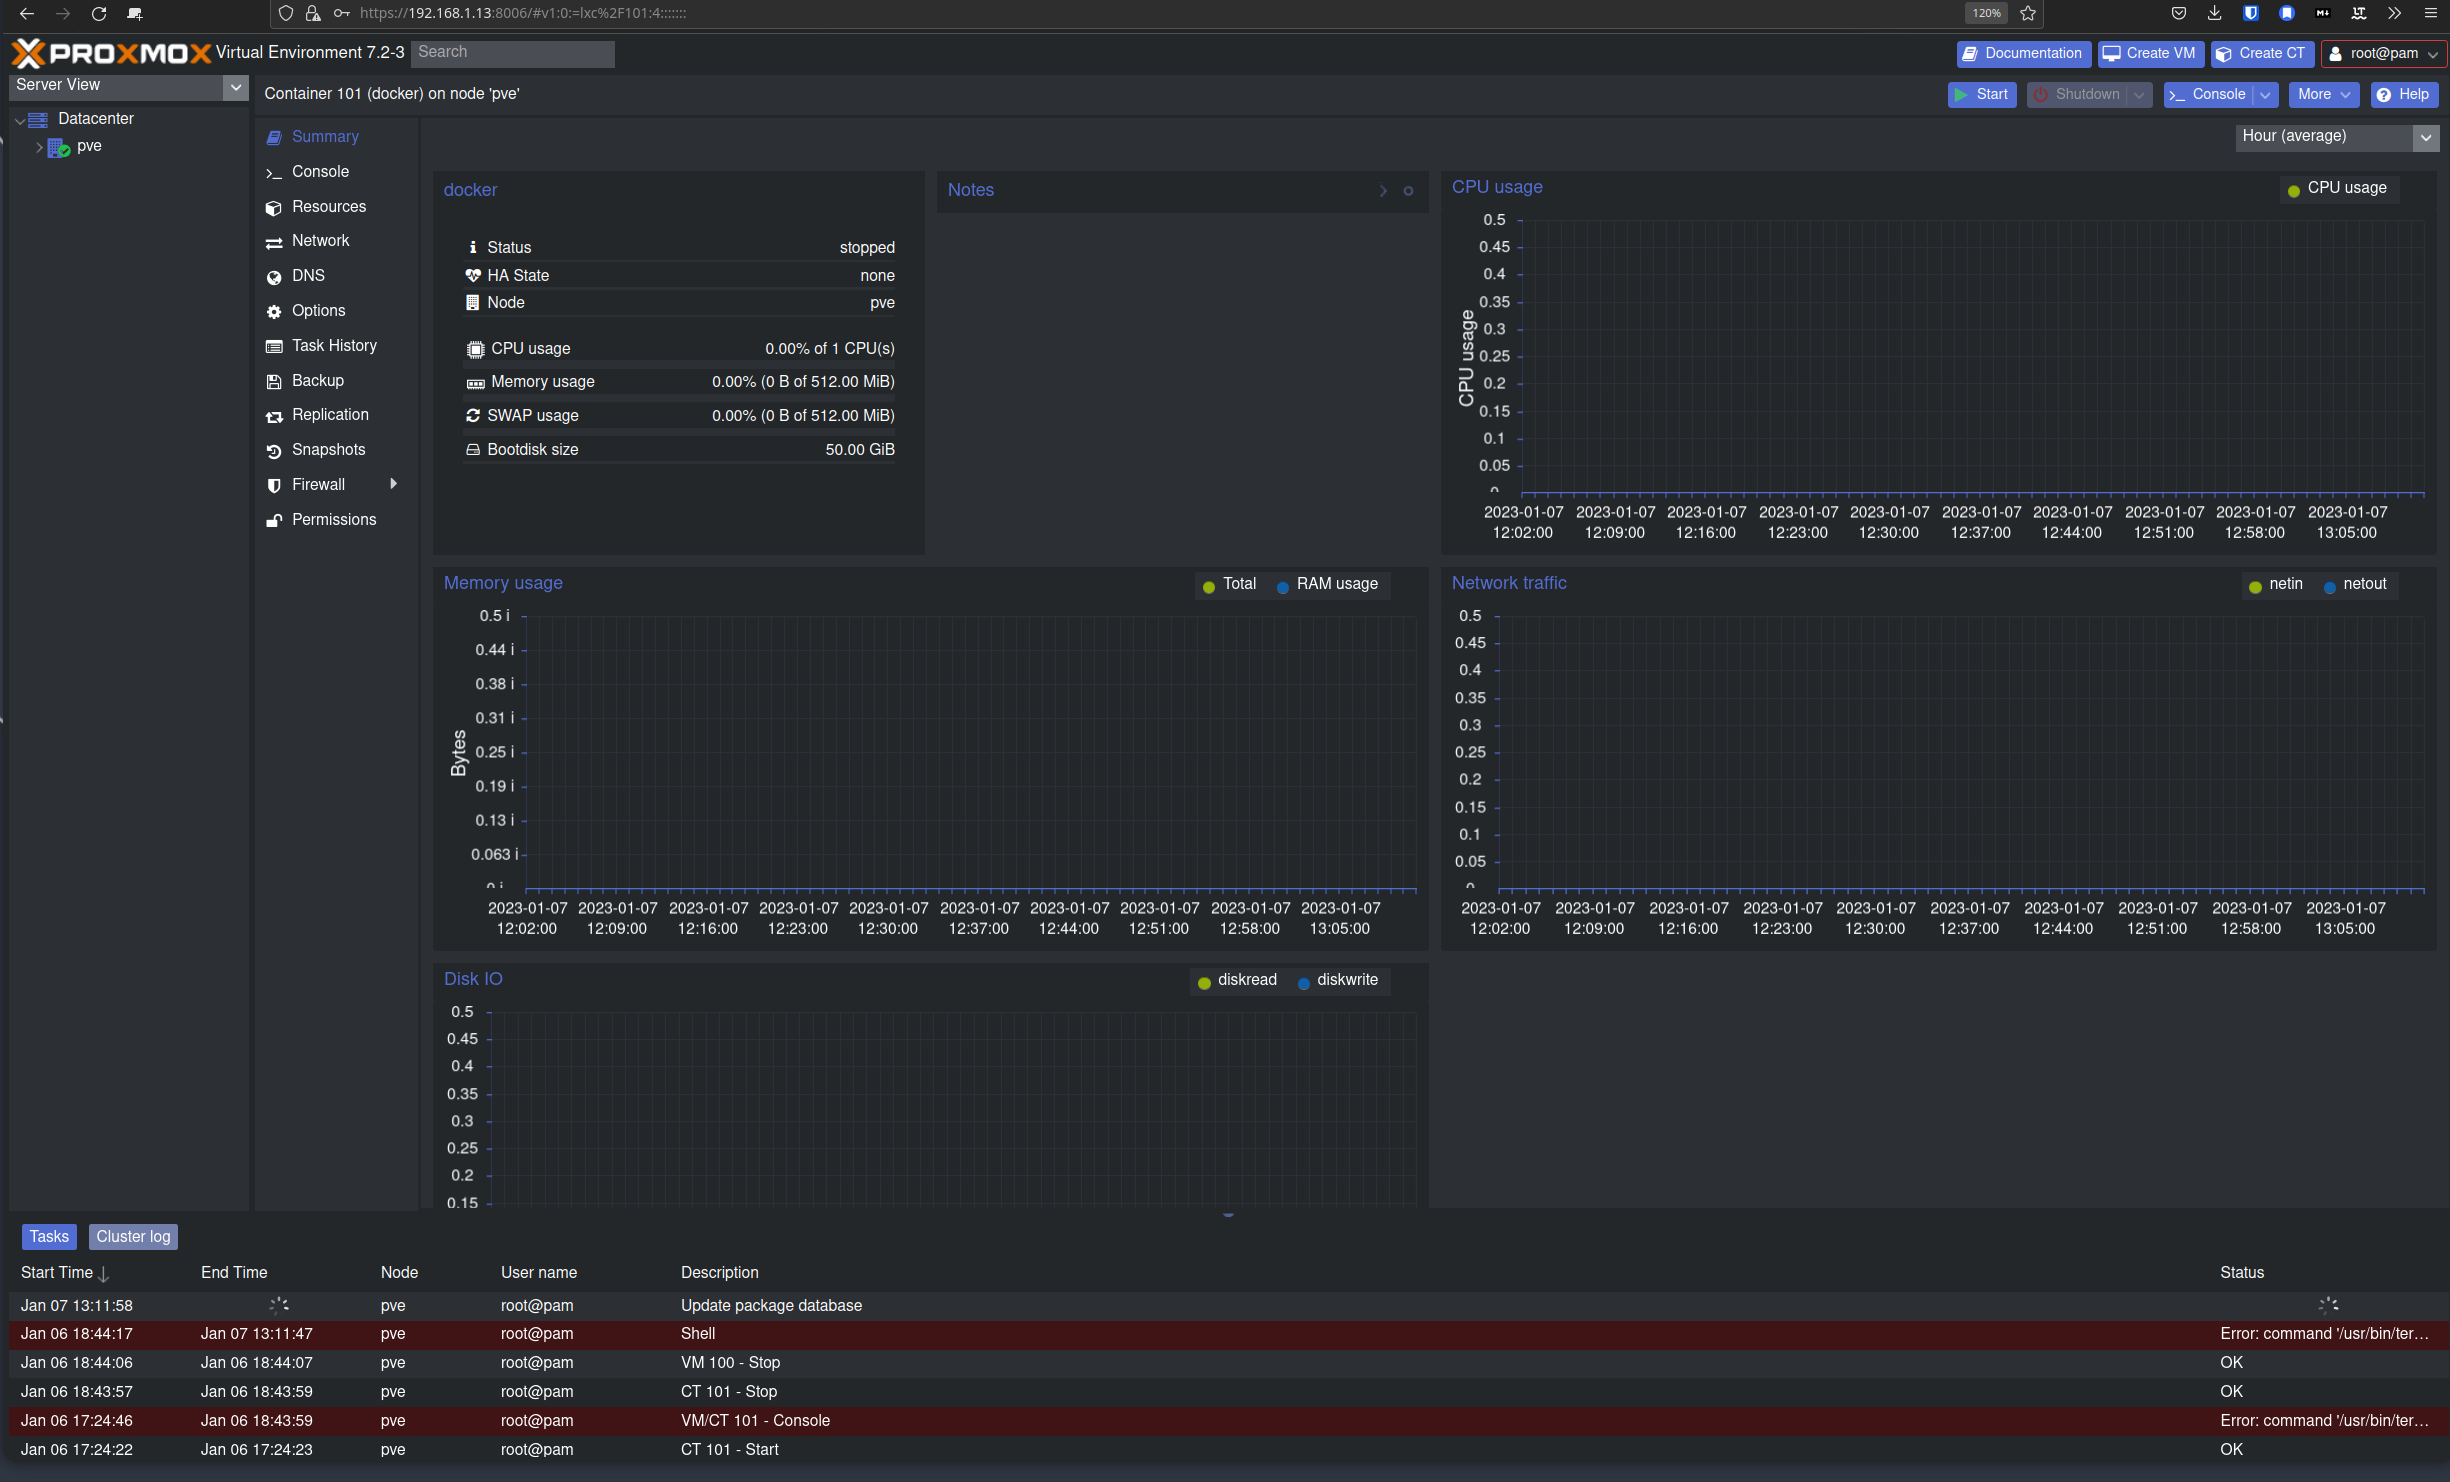
Proxmox control panel
With our groundwork complete, the next act involves uploading the essential ISOs for our virtual machines. Navigate to pve > local (pve) > Upload to initiate this crucial step. Ensure you upload the respective ISOs for both the Windows 10 and Windows Server 2019 machines, setting the stage for a seamless performance.
For the orchestration of Windows machines, installing VirtIO drivers is paramount. To achieve this, we’ll utilize the VirtIO ISO. Find the download link in the dedicated links section. When accessing the GitHub webpage, opt for the latest version, as illustrated in the accompanying image. This strategic choice ensures we harness the most refined tools for our virtual symphony.
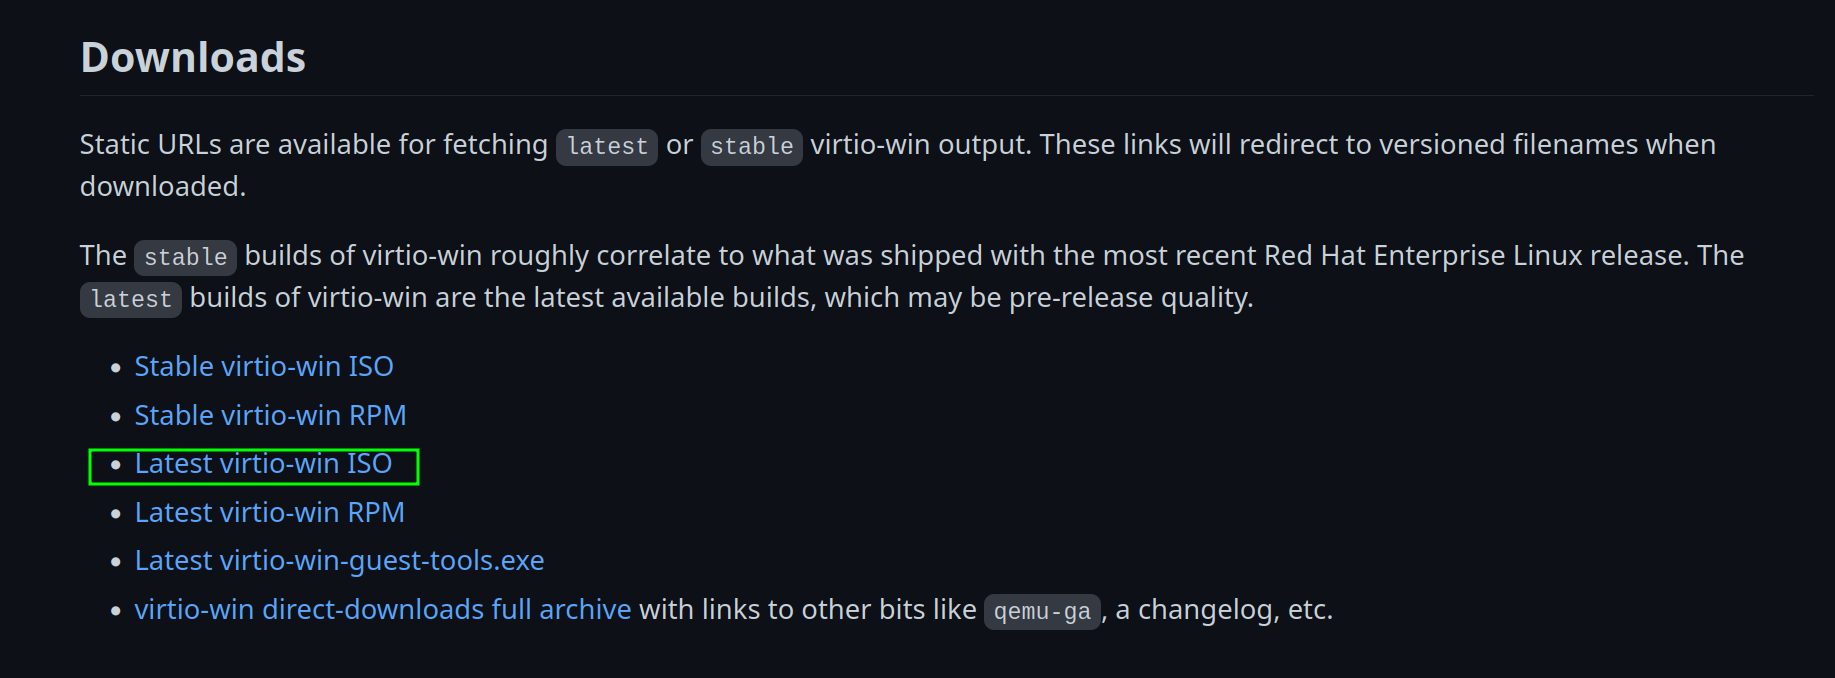
VirtIO ISO download sample
Crafting the Windows Server 2019 Symphony
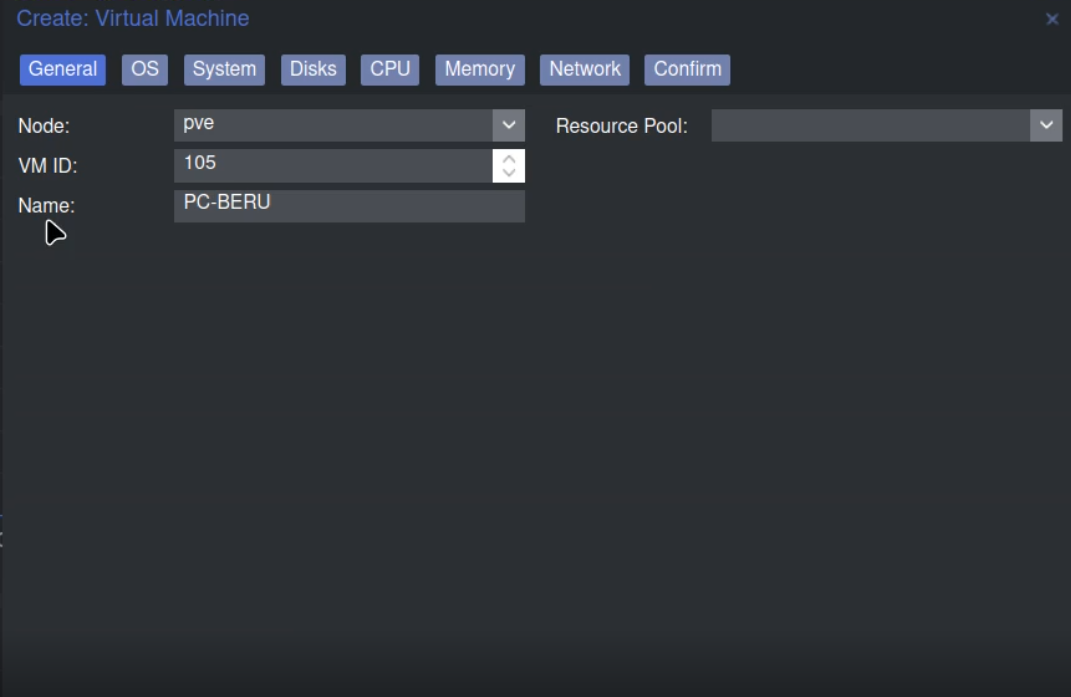
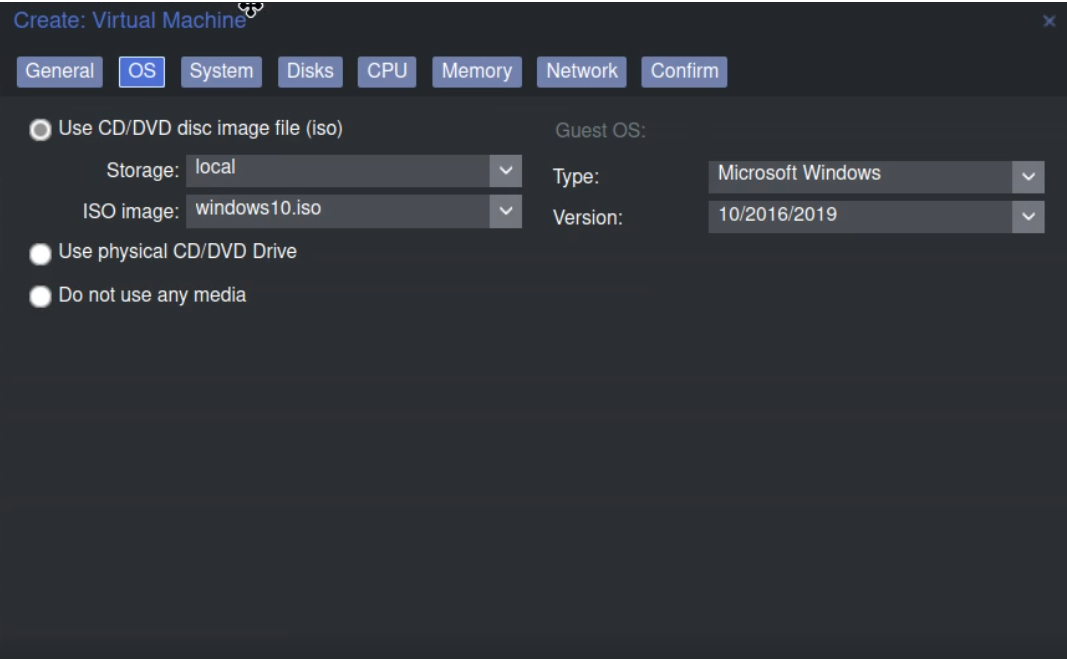
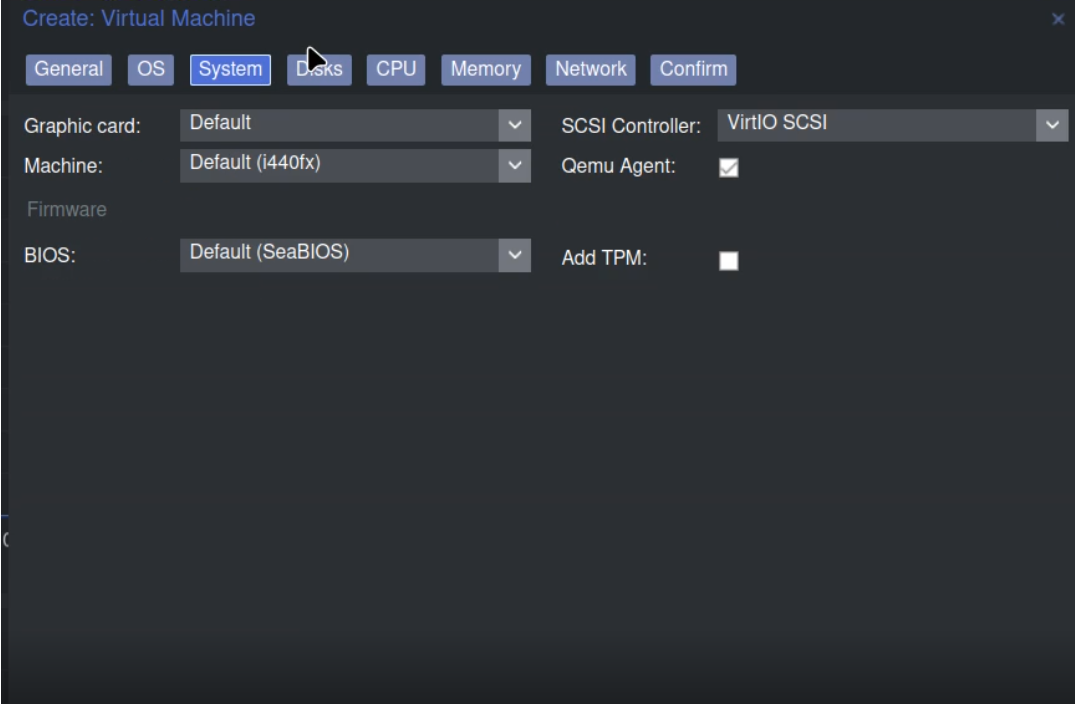
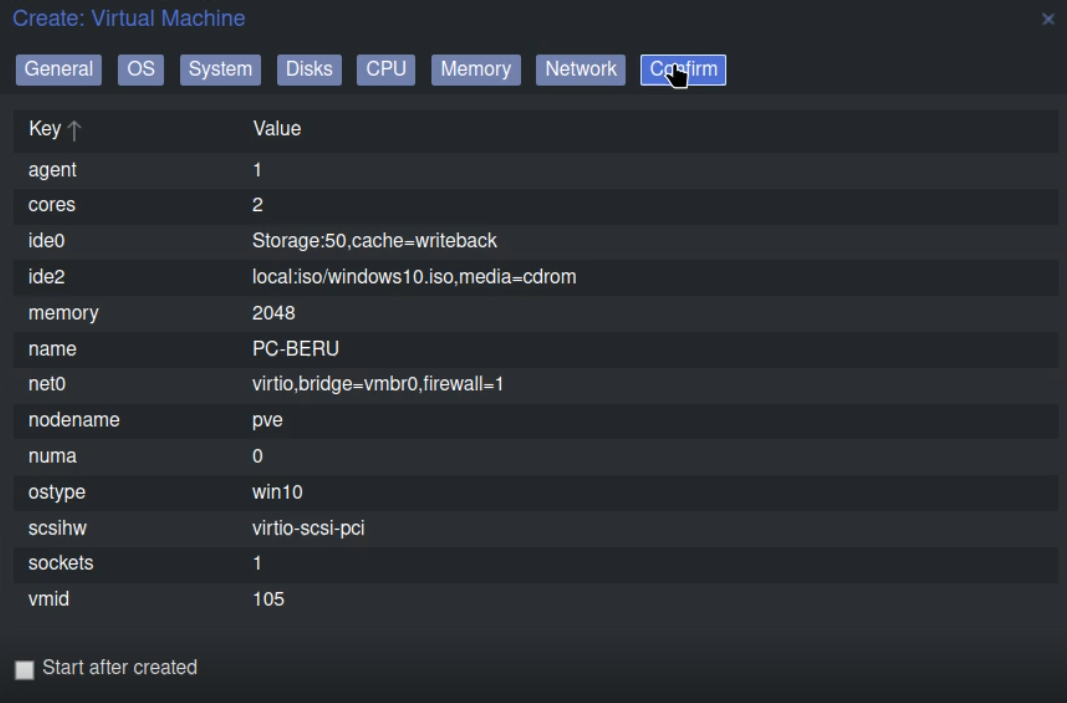
Compose the virtual machine with a name that resonates with you, harmonizing CPU and memory with your machine’s capabilities. Meticulously configure each tab, ensuring a seamless performance.
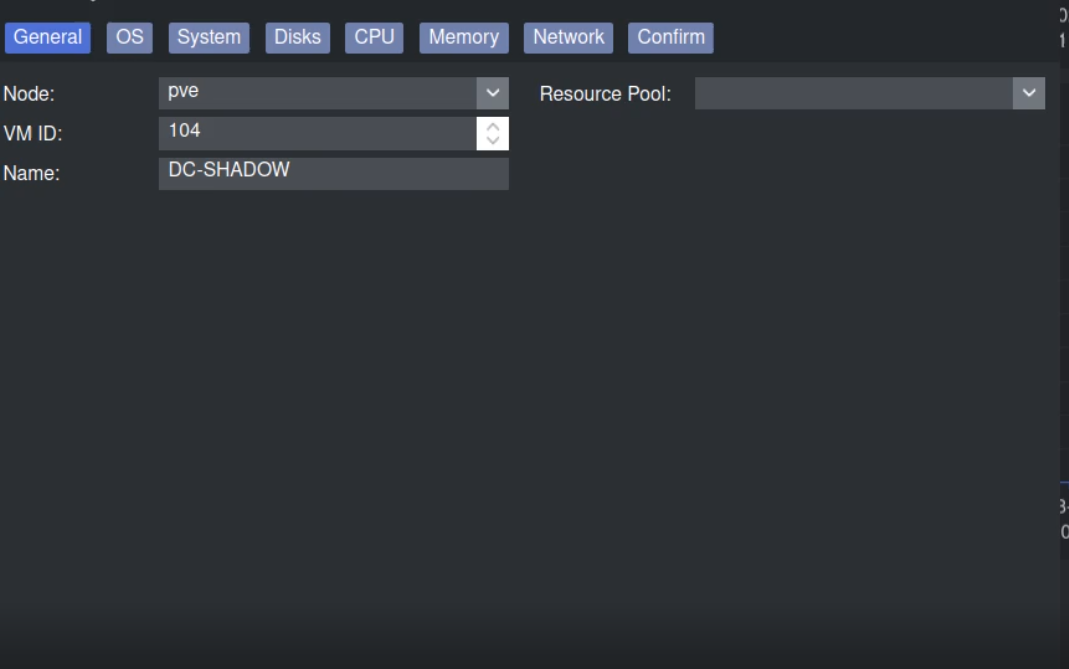
General tab
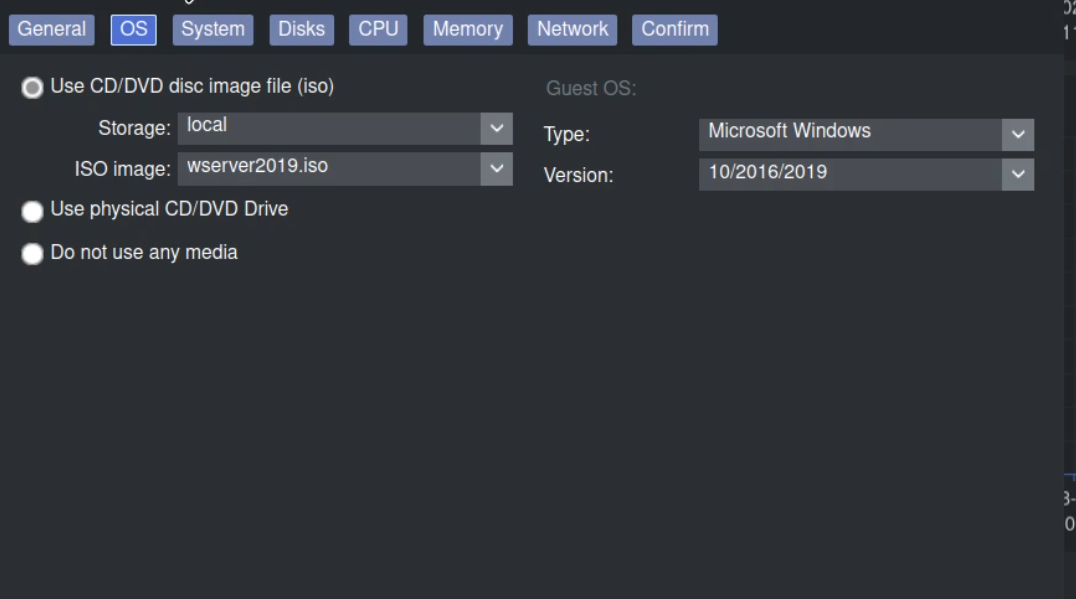
OS tab
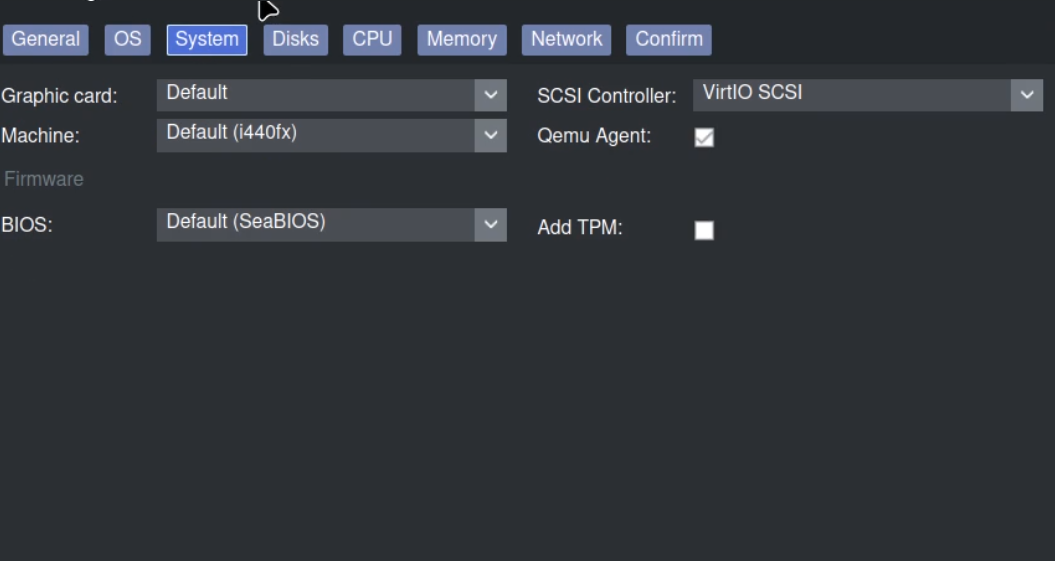
System tab
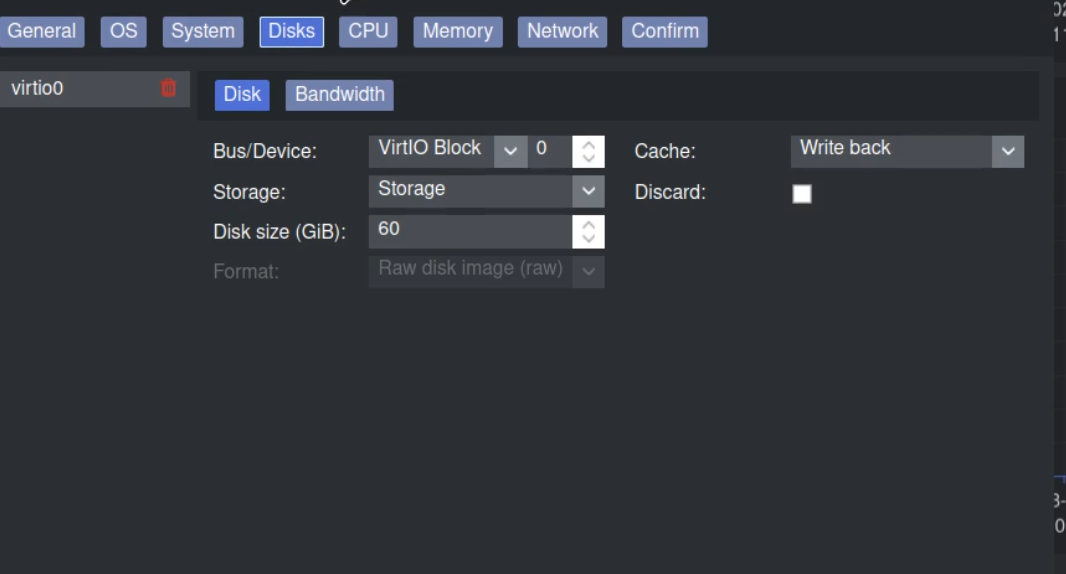
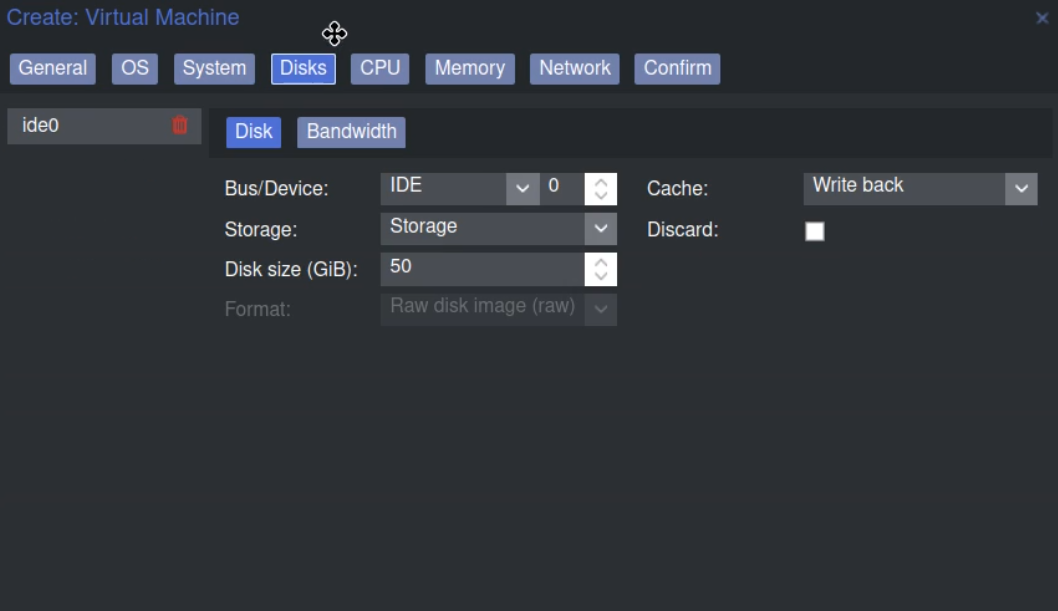
Disks tab
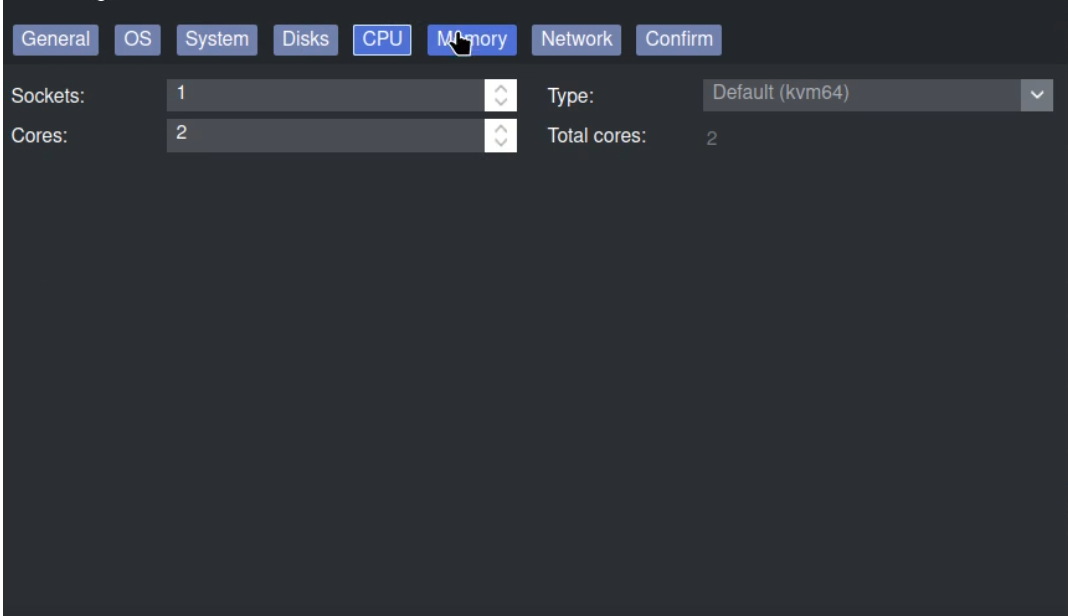
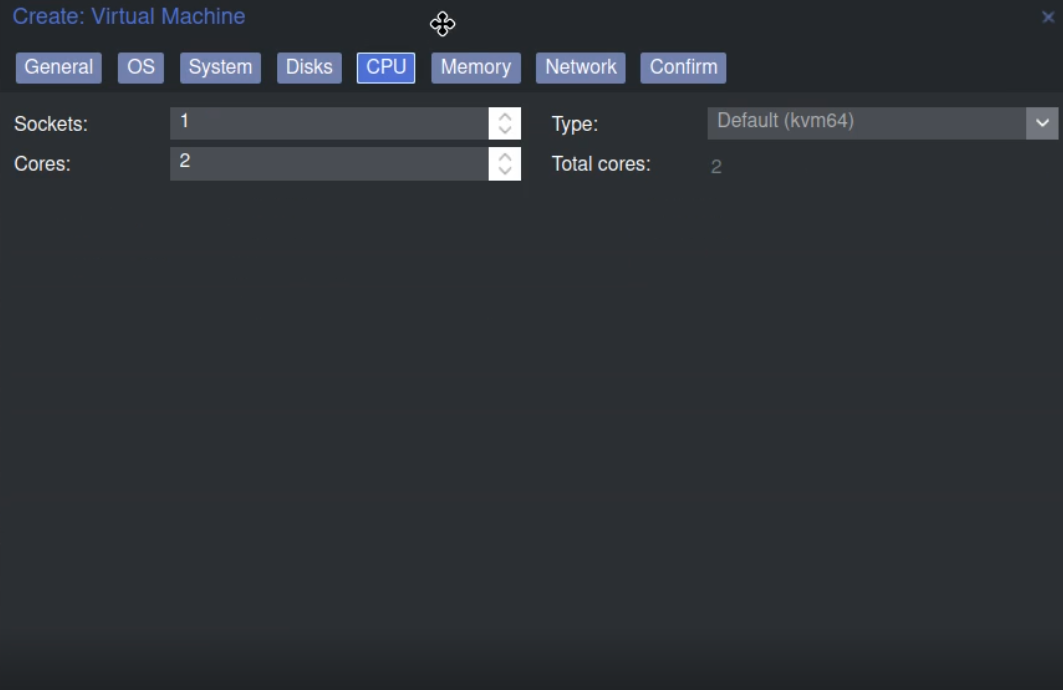
CPU tab
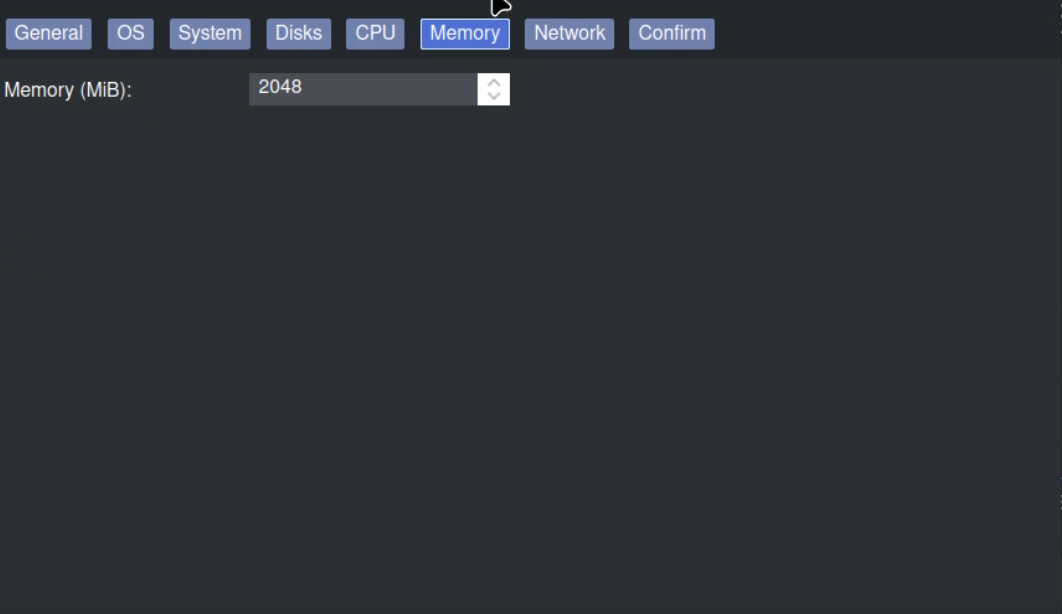
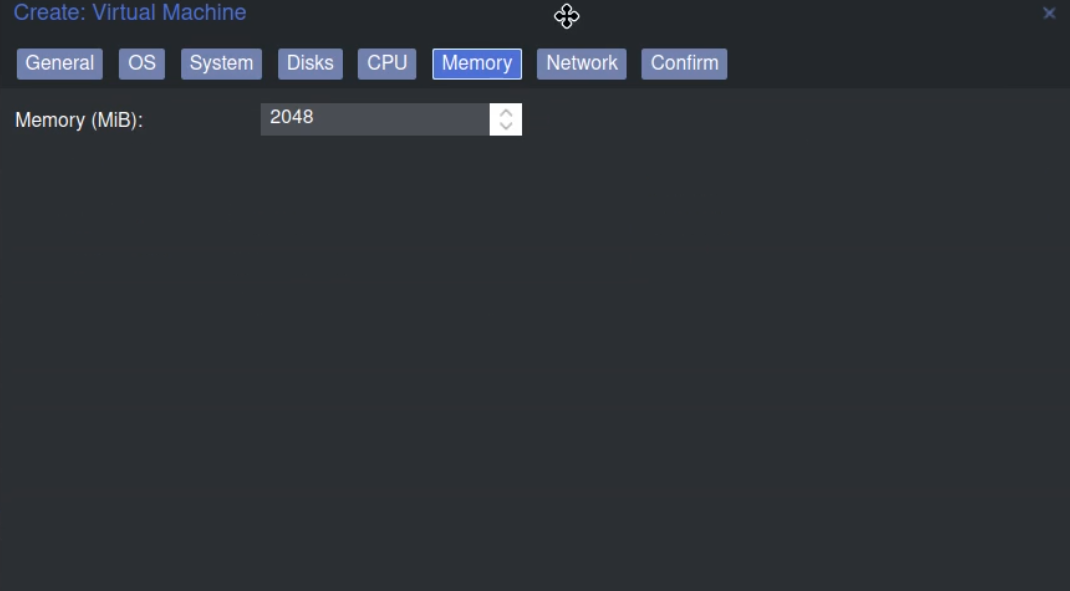
Memory tab

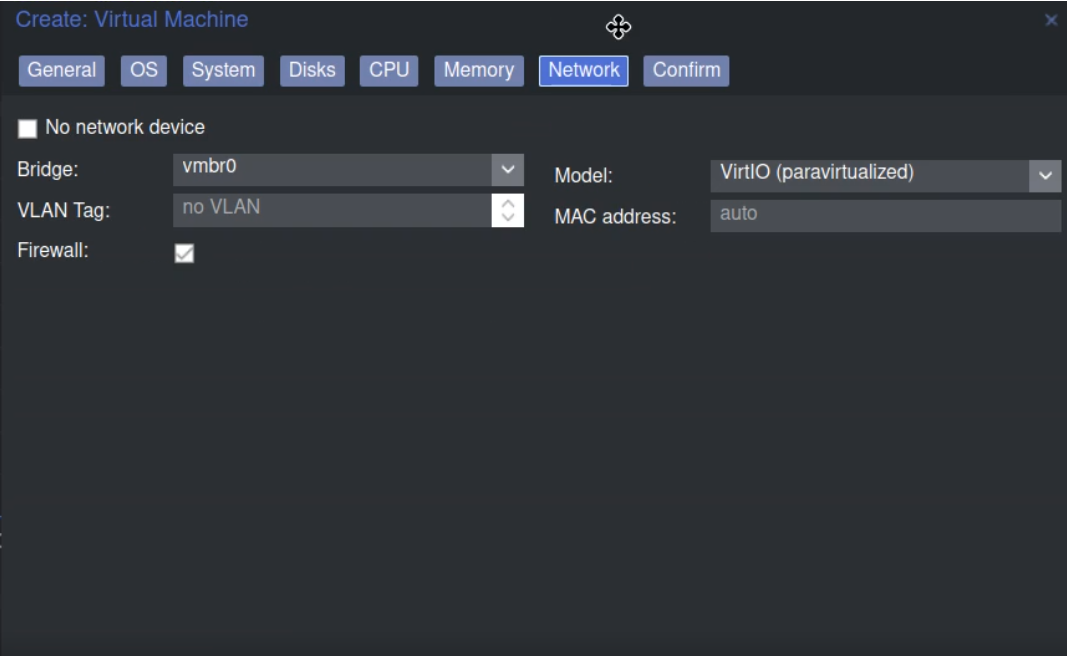
Network tab
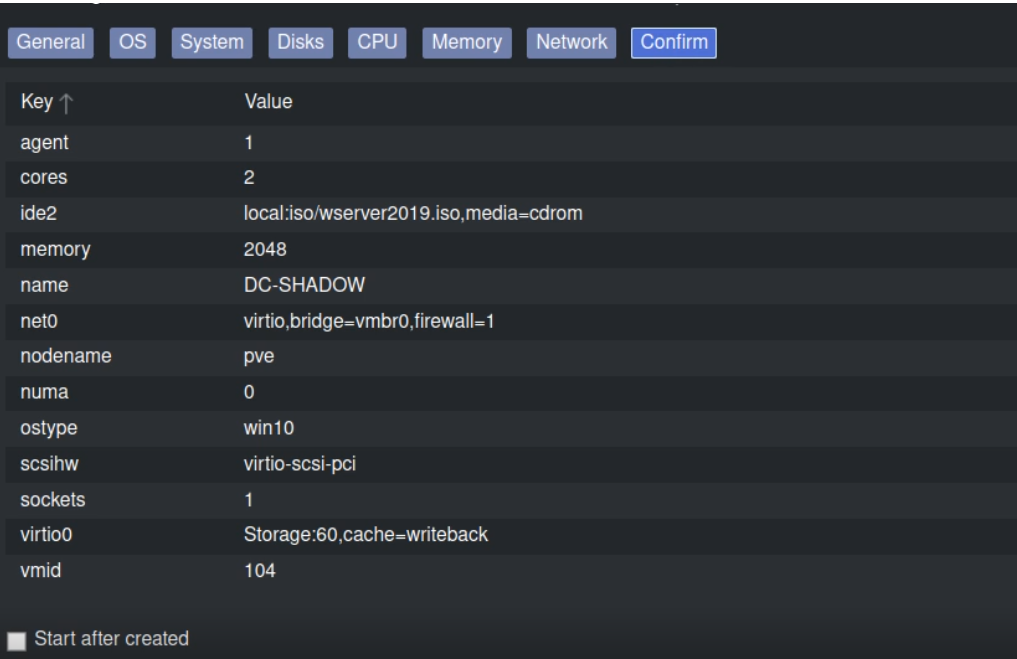
All the configuration
In the hardware tab, add the VirtIO ISO to infuse the magic of Windows drivers. After this configuration, your machine should run smoothly without a hitch.

Add VirtIO ISO
Once in the domain controller configuration, select your preferred language and specify that you want to utilize “Windows Server 2019 Standard Evaluation (Desktop Experience).” This sets the stage for a robust and user-friendly server environment.
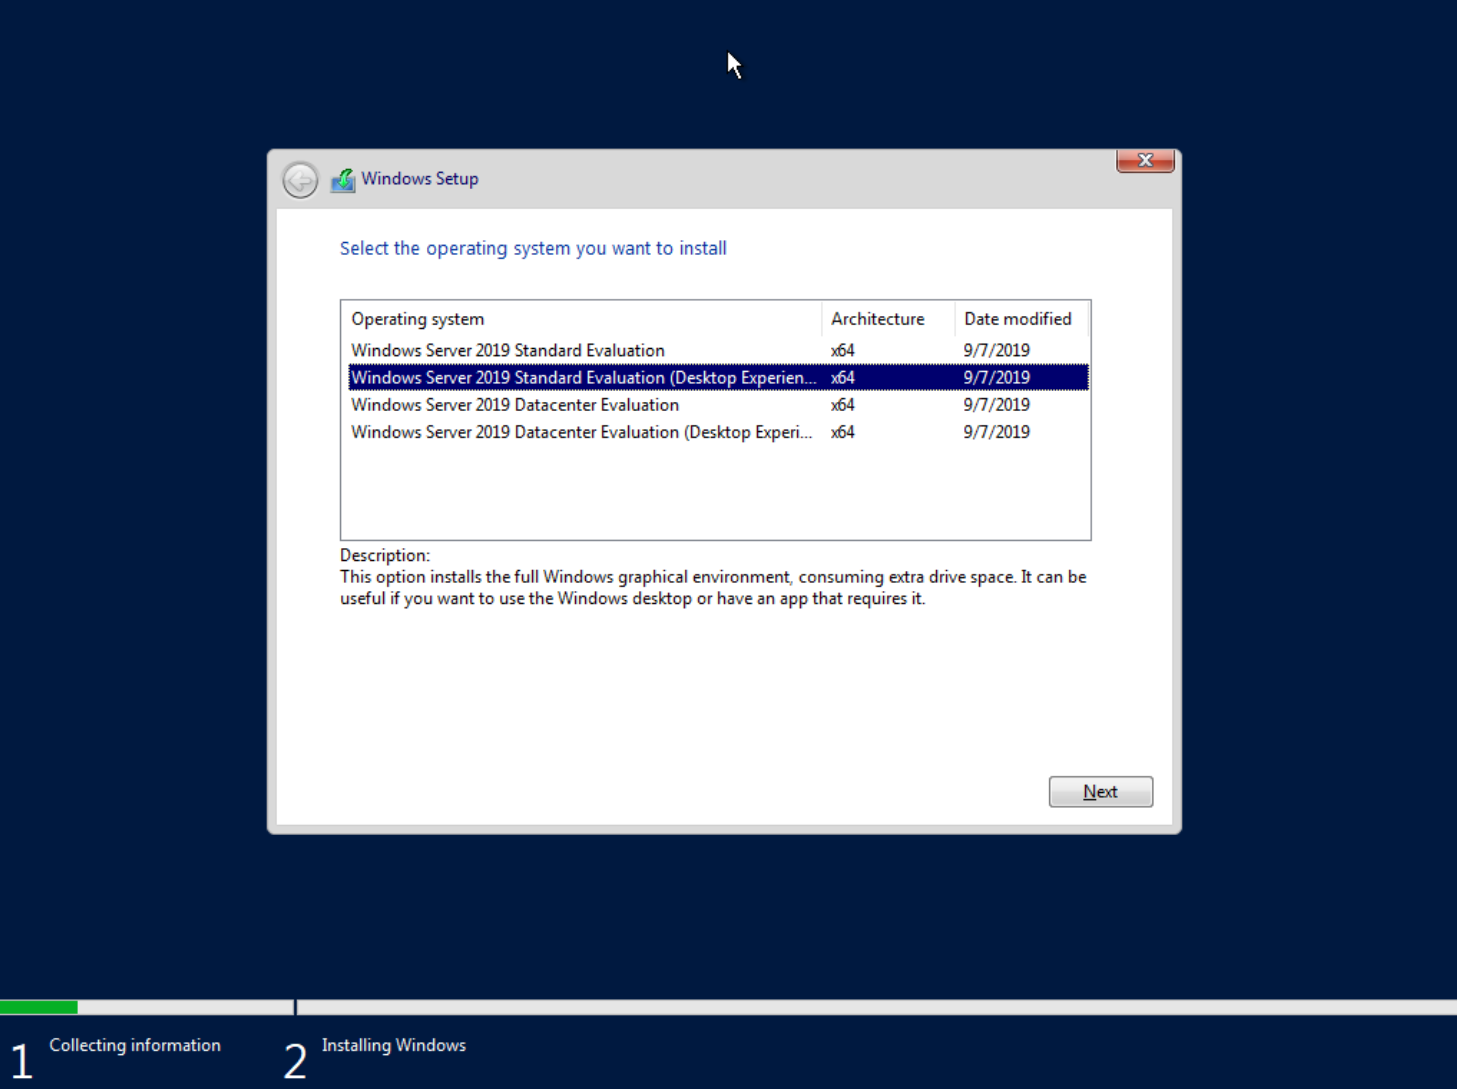
Selection of the Windows Server version to be installed
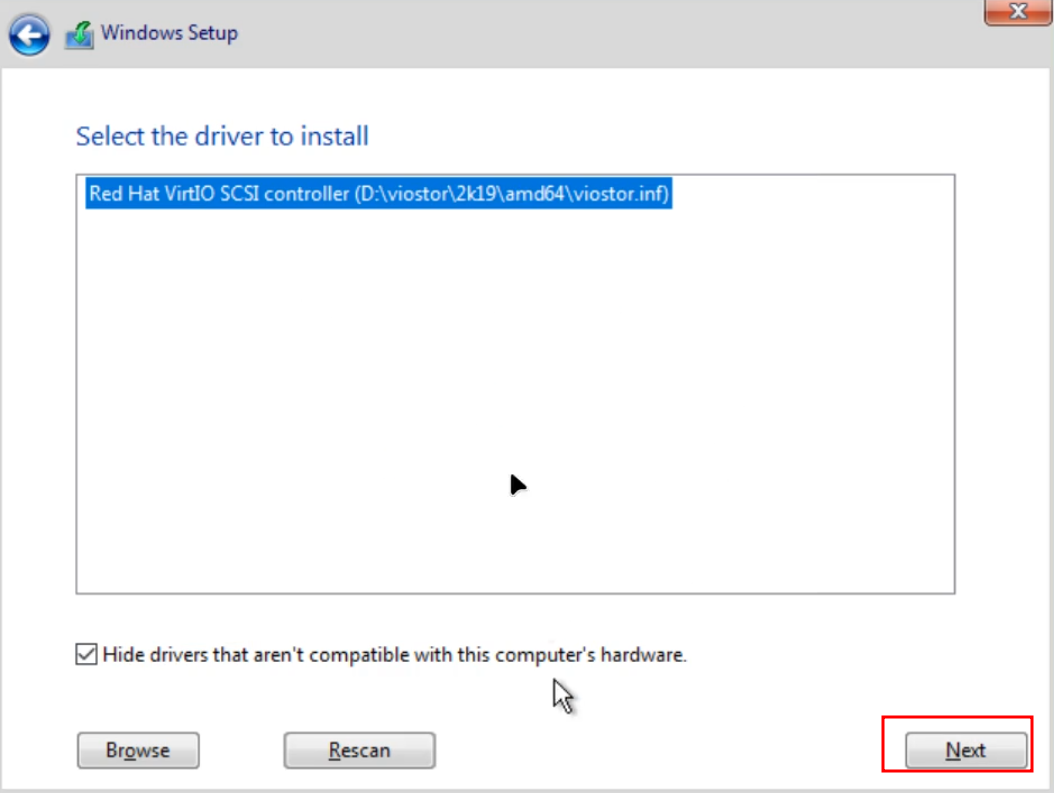
Next, opt to configure the operating system installation by selecting “Custom: Install Windows only (advanced).” A menu will appear, prompting you to click on “browse” for driver selection. Choose disk D, which houses the driver image, and then select the 2019 drivers from the “virtio” folder. This careful driver orchestration ensures a flawless installation process.
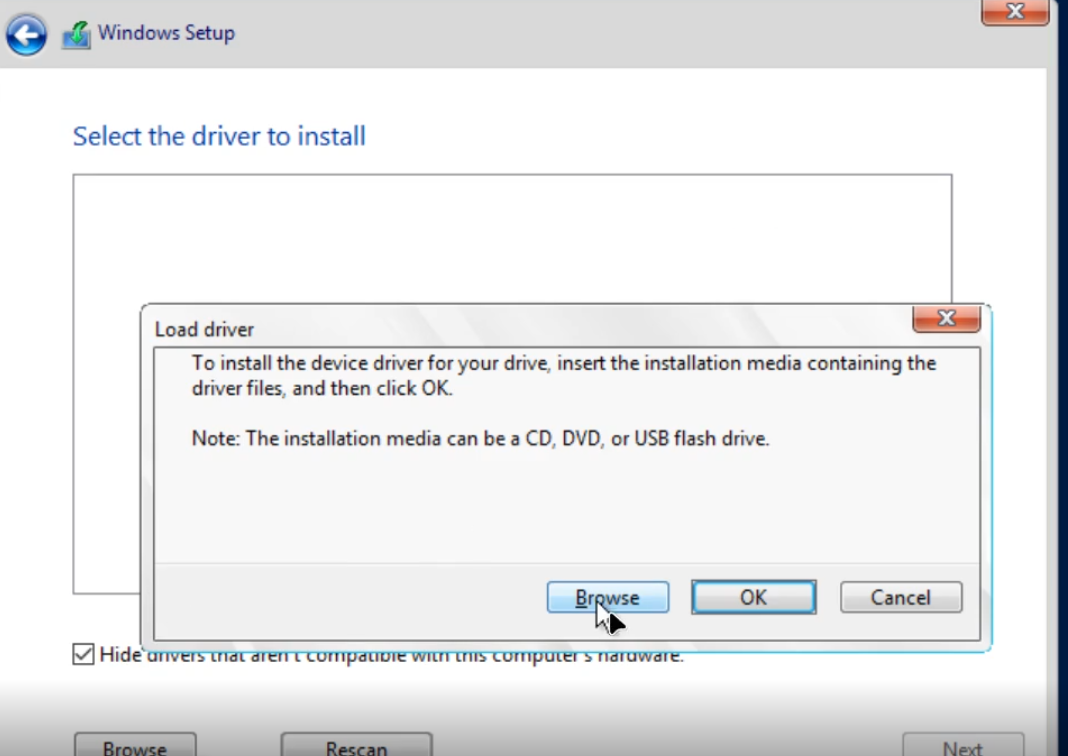
Driver search
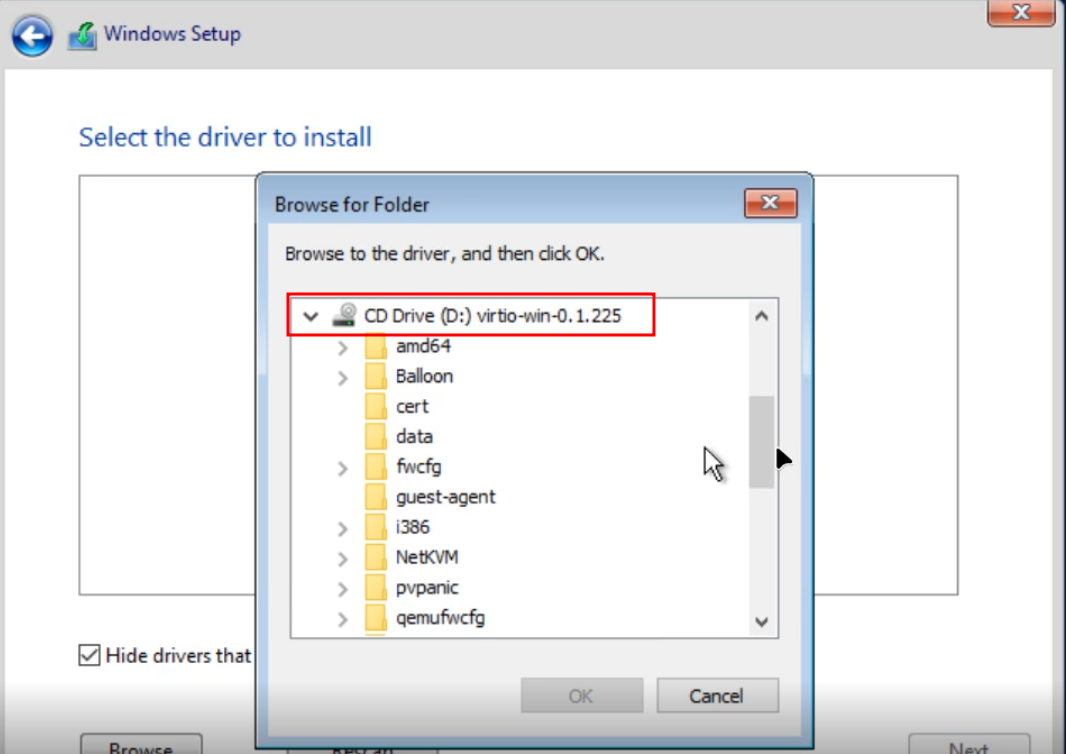
Disk D
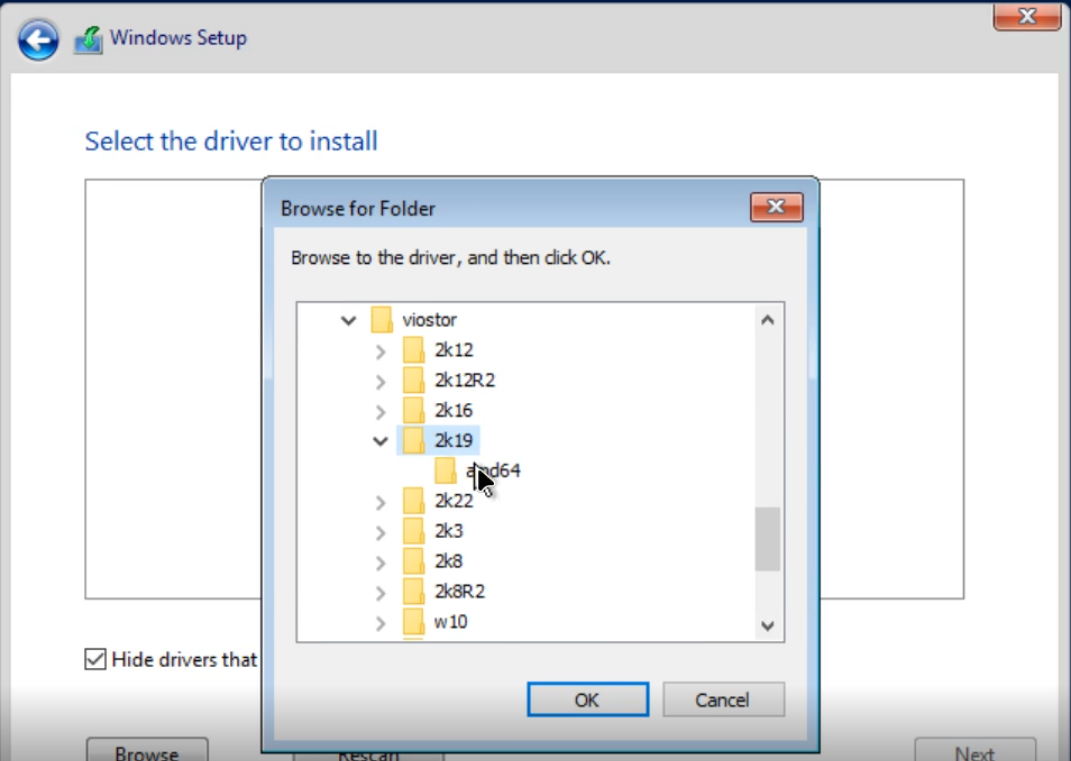
Drivers selection
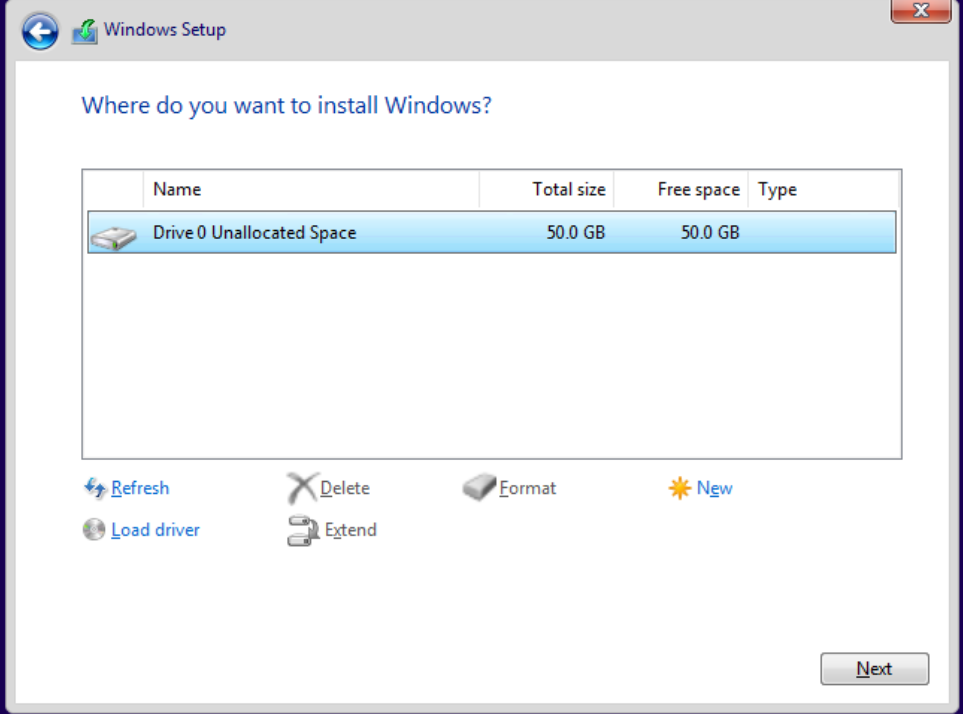
Click ‘Next’ to initiate the installation, and you should be presented with the space allocation for your machine (Driver 0). After completing the installation, proceed to create an administrator user. While security is paramount, for the purposes of our test lab, set a straightforward password, such as “P@$$w0rd.”
Installation

Driver 0
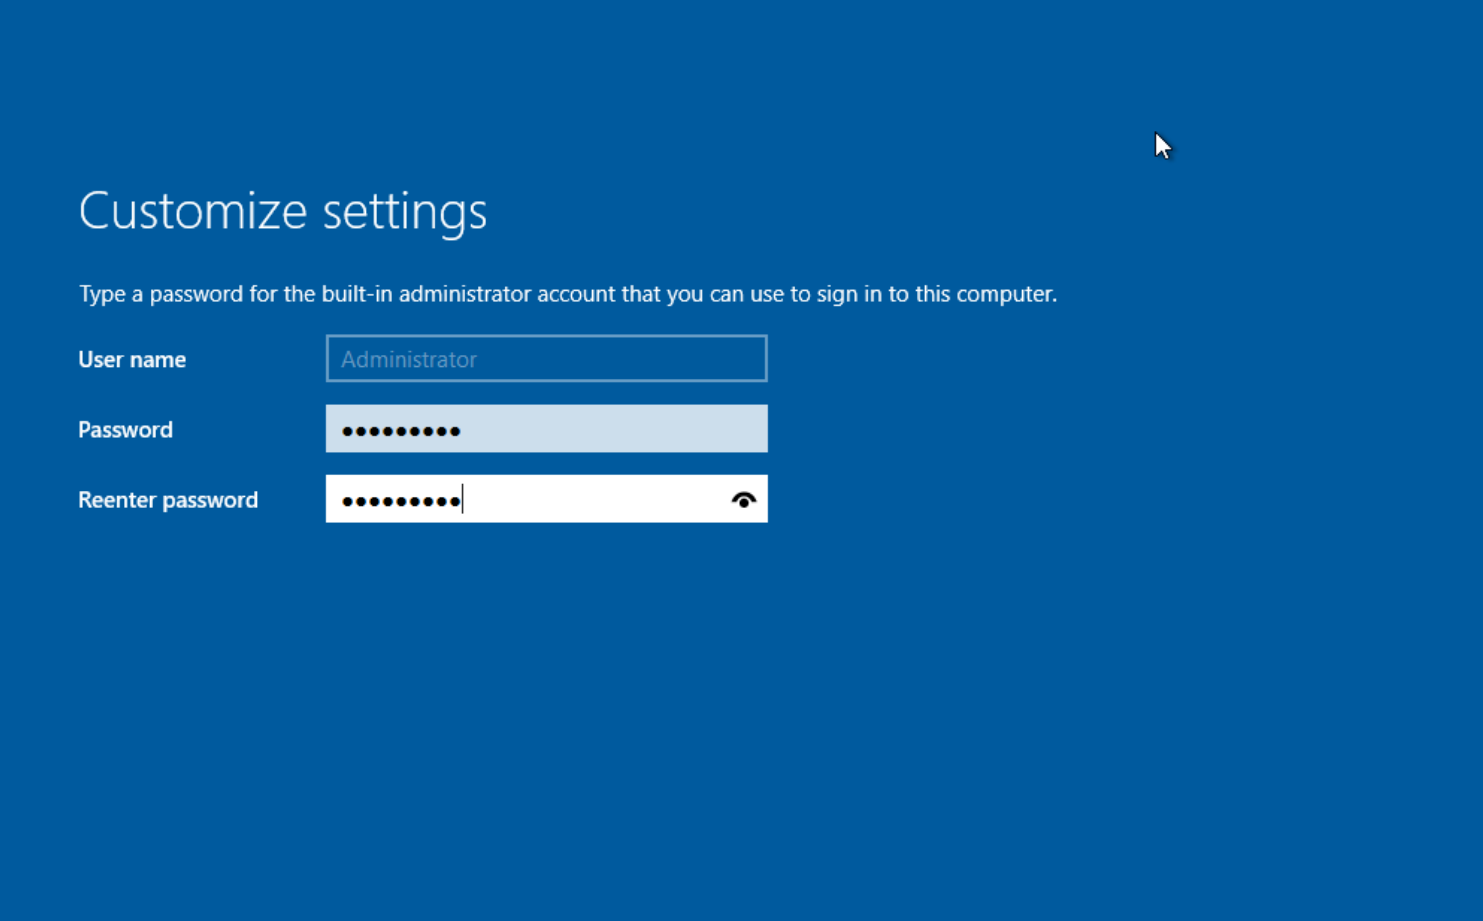
Sample administrator user configuration
With these configurations in place, the next destination is the Domain Controller. Accessing the user login interface is a breeze – simply click on the button depicted in the image below, mirroring the familiar “Ctrl+Alt+Delete” sequence. This action seamlessly opens the gateway to the Domain Controller, paving the way for further exploration within our orchestrated environment.

Access to the log in
Now, you’ve successfully tuned the Windows Server 2019 machine to play its part in our hacking symphony.
Windows 10: The crescendo
The Windows 10 symphony echoes similar notes of configuration. Compose the settings across General, OS, System, Disk, CPU, Memory, and Network tabs. Run the machine, initiating the configuration for language and keyboard preferences during the installation process.
General tab
OS tab
System tab
Disk tab
CPU tab
Memory tab
Network tab
Click again on “Custom Installation,” and this time, ensure that the disk where you want to install Windows is visible. If it doesn’t appear, repeat the virtuoso act of loading the drivers, akin to our earlier steps with Windows Server 2019. This ensures a flawless installation process that resonates with perfection.
Disk selection sample
Upon entering the system, revisit language and keyboard configuration. A dialog may appear, indicating a failure to connect to the internet. Fear not, and click on the option at the bottom left, stating “I don’t have Internet.” In the subsequent dialog, choose “Continue with limited setup.” The virtual machine will restart, and you’ll need to repeat this process to continue without internet. Select the option “I don’t have internet” once again.
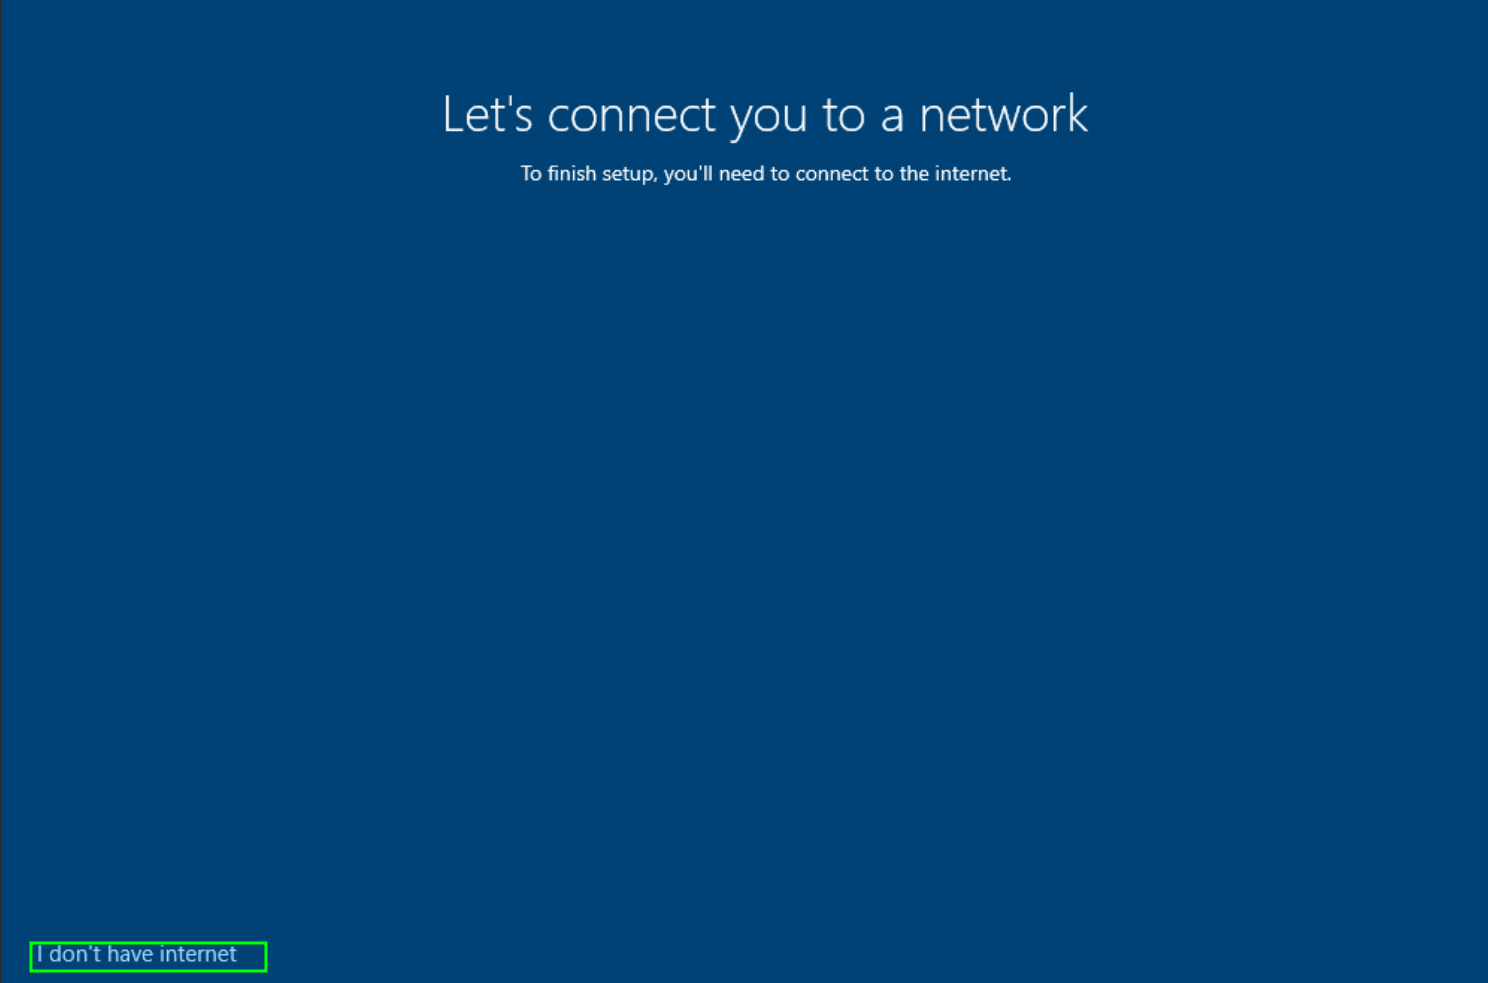
Select the option “I don’t have internet”
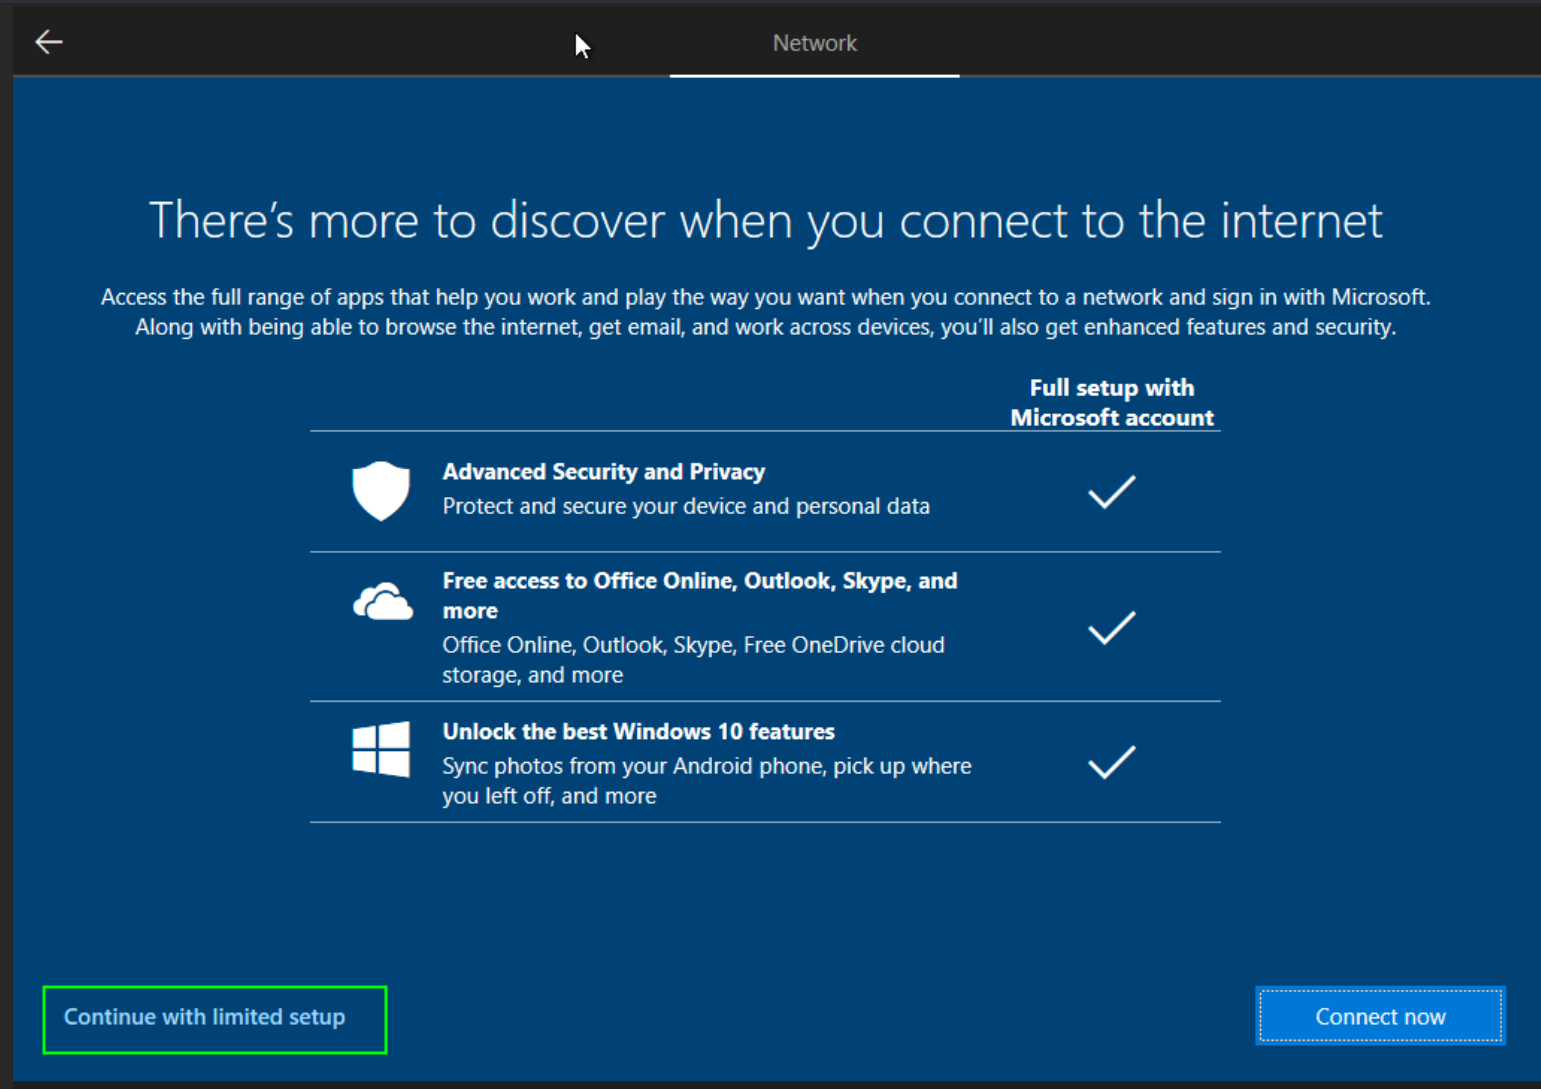
Select the option “Continue with limited setup”
Finally, establish credentials for the user that grants access to the machine. The following steps may be best ignored, as security configurations can vary. After completing these steps, revel in the crescendo as you gain access to your Windows 10 machine.
Access to Windows 10 machine
To conclude this part of the lab, repeat this same process to create a second Windows 10 machine, adding another layer of harmony to our hacking symphony.
Conclusions
This concludes the first part of our series! 🥳 In the next installment, we’ll dive into setting up drivers for virtual machines to ensure network access. Additionally, we’ll explore how to configure both the Domain Controller and Windows 10 machines to create a fully functional Windows hacking lab.
Links
virtio-win-pkg-scripts/README.md at master · virtio-win/virtio-win-pkg-scripts
Chapters
Next chapter

💬 Comments Available
Drop your thoughts in the comments below! Found a bug or have feedback? Let me know.